FROSTING FOR GINGERBREAD
ROYAL FROSTING
If you're making a gingerbread house you're going to need a beautiful and structural frosting to "glue" your pieces together and decorate your creation. Royal Frosting is the gold standard for gingerbread houses, as it is a stiff frosting that hardens over time as the liquid content evaporates. I like to think of Royal Frosting as the equivalent of white tacky glue, which in architecture school was what our professors told us was the best glue for wood architectural models. They told us we could use hot glue or super glue, but at our own peril, as although those connections dry quickly, they are hard to undo and are actually less secure since they do not “bond” the fibers of the wood, or in this case gingerbread.
Because of the longer drying time, Royal Frosting will require supports for your design until it hardens. You might use heavy items and/or a string to keep your pieces from falling. Royal Frosting can take hours to harden, but once hardened it is an extremely secure bond.
I have two recipes I like to use for Royal Frosting. One contains raw egg, which I use if I don’t have any meringue powder.
Equipment you’ll need:
Stand Mixer with a paddle attachment or a Large Bowl with a spoon
Rubber/Silicone Spatula
Tipless Piping Bags
A tall glass (this is helpful for putting the frosting into the bag)
INGREDIENTS
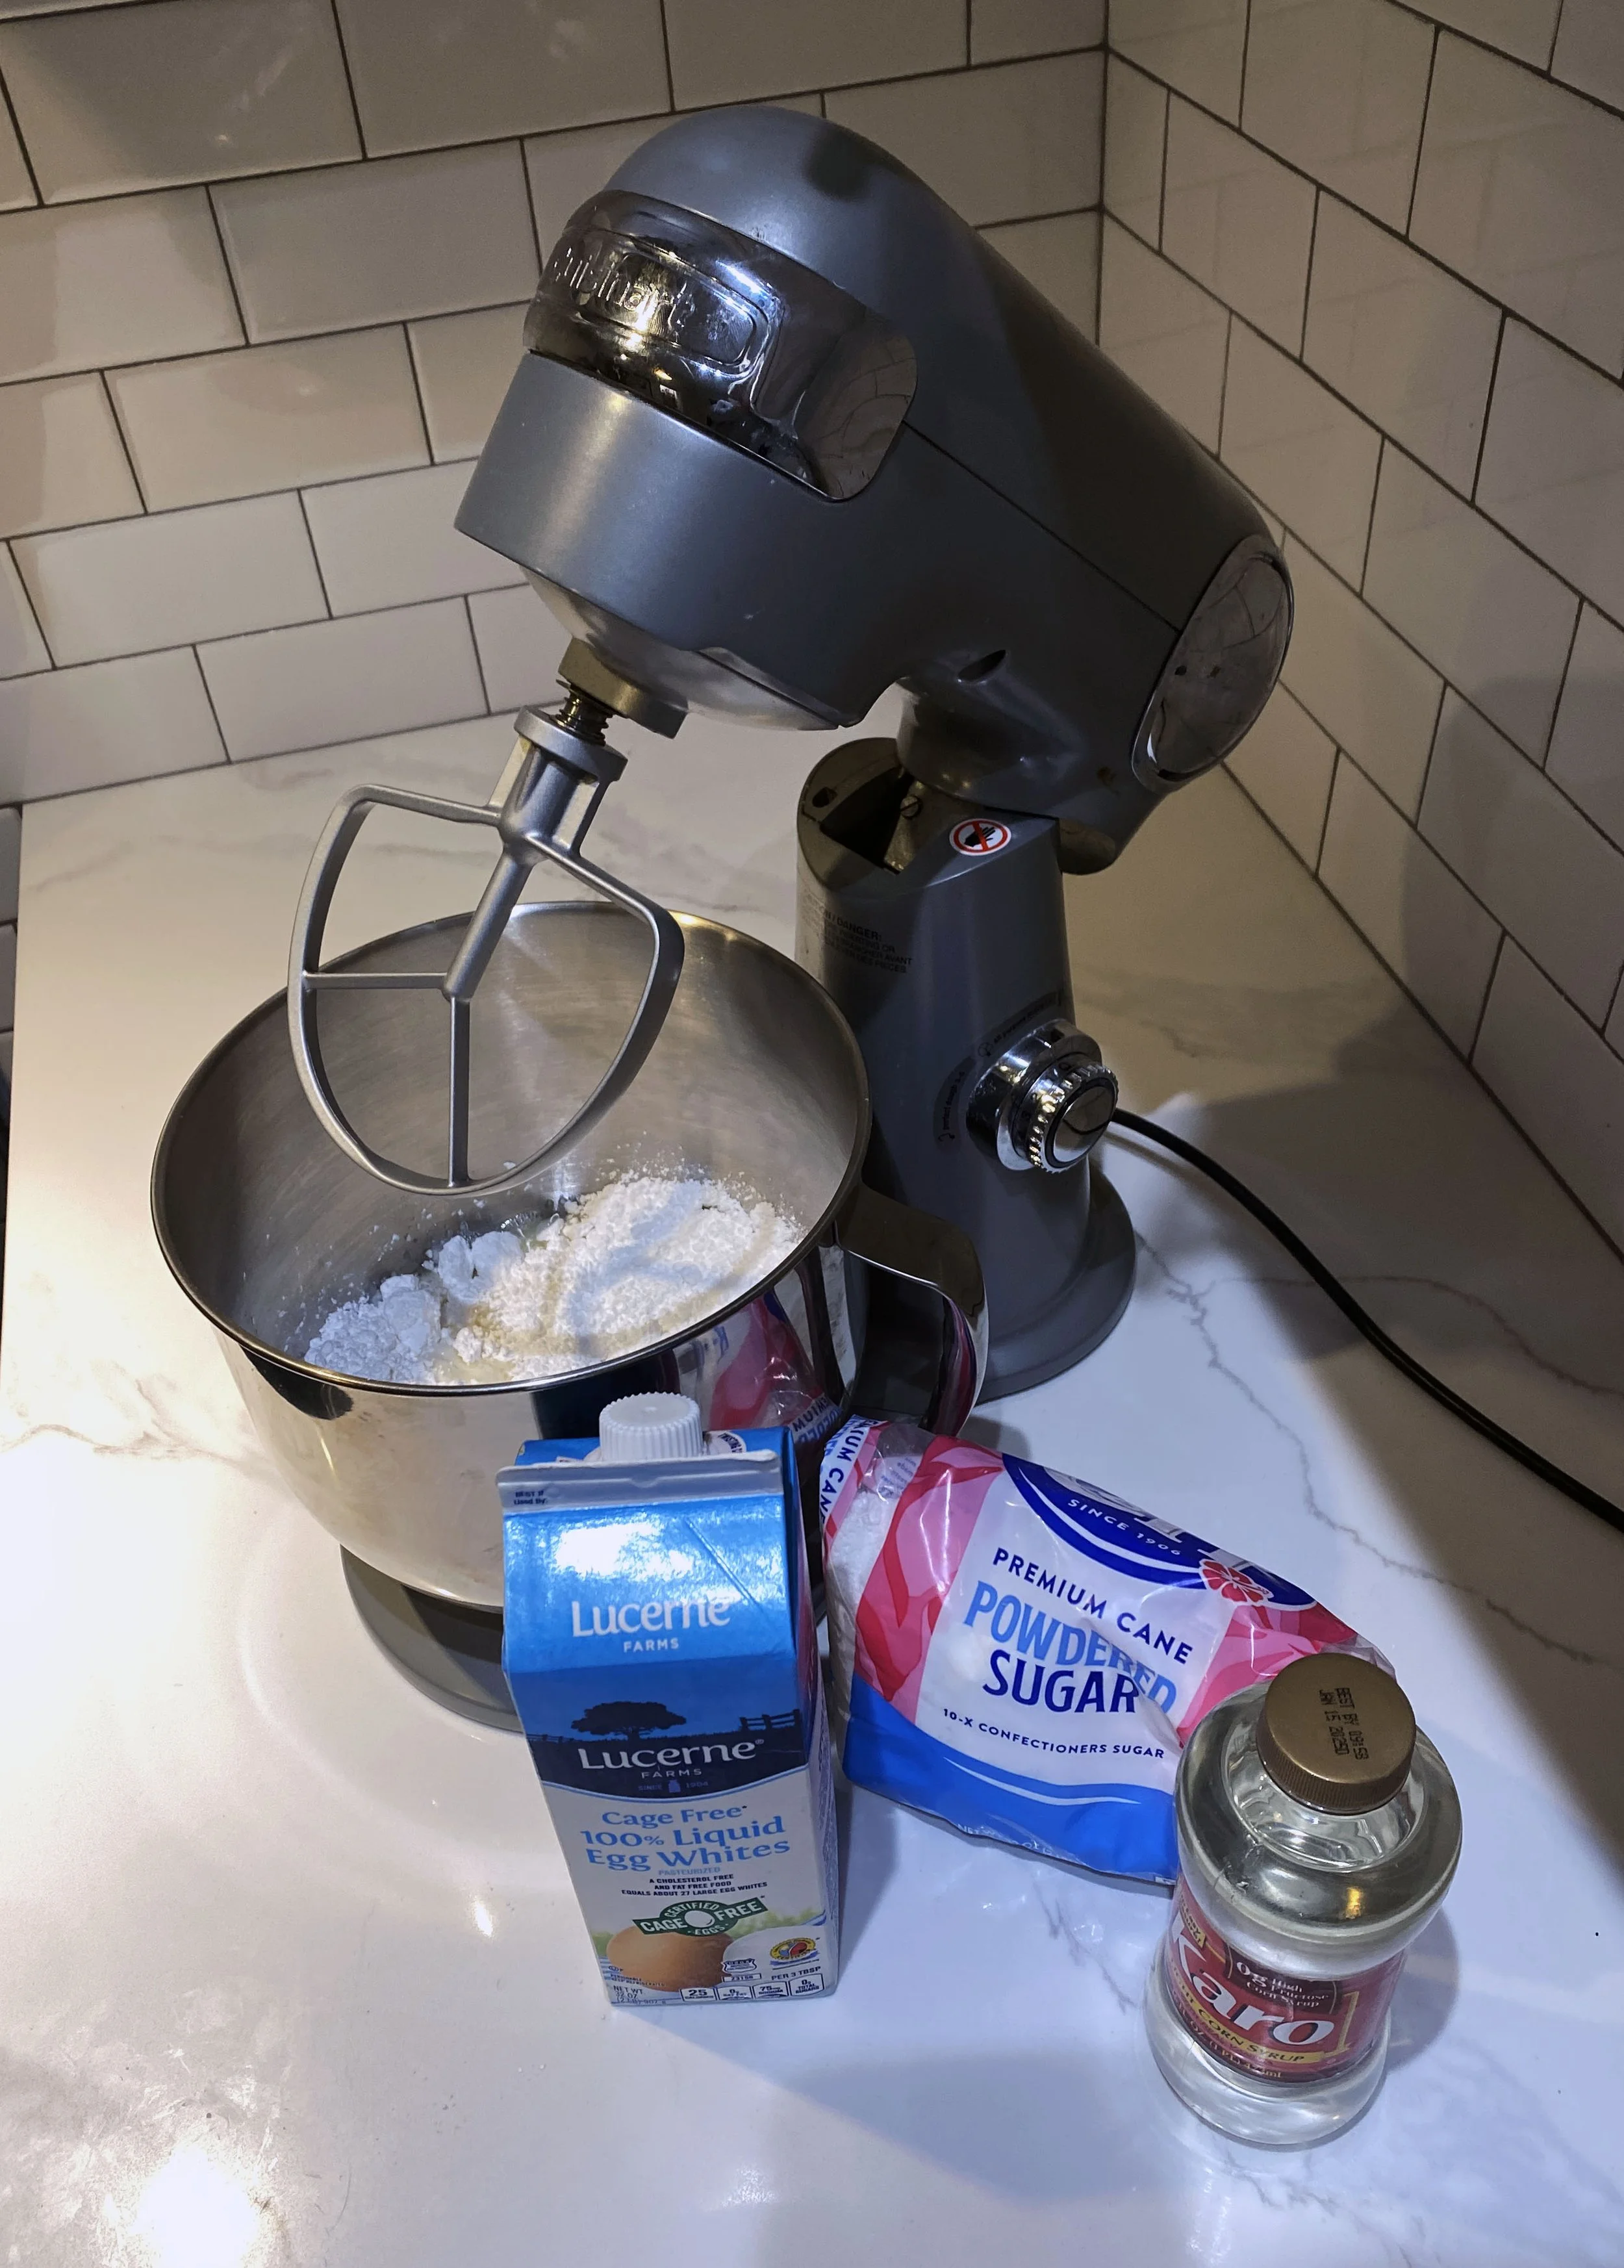
Royal Frosting with Raw Egg
3/4 cup raw egg whites (6 eggs) - If you’re planning on eating it I’d recommend using a pasteurized carton of egg whites.
8 cups/2lb of Powdered Sugar
1 teaspoon of clear corn syrup - if you’re planning on eating it
Royal Frosting without Raw Egg
5 tablespoons Meringue Powder
8 cups/2lb of Powdered Sugar
3/4 cup water - less if you are planning on using water-based food coloring
1 teaspoon of clear corn syrup - if you’re planning on eating it
INSTRUCTIONS
Take half of the powdered sugar and pour it into the bowl, mix in the egg whites and or meringue powder/water.
You’ll want to use the paddle attachment and be mix slowly - DO NOT WHIP - we want the least amount of air possible in the frosting because otherwise you’ll end up with a much of bubbles in your frosting bags and that will mess up your piping work!
Slowly add the rest of the powdered sugar as you mix.
Once the frosting is mixed - it should be smooth and light, open up a piping bag and place it into a tall glass. Drape the end of the bag over the sides of the glass and take the silicone spatula and begin filling the bag with your frosting.
I learned this the hard way, but use smaller bags that are easier to maneuver in order to fine detail work. My preference is to use professional tipless piping bags, but you can use bags with an attachment as well, you’ll just need to insert the attachment in the bag before pouring in the frosting!
When you color your frosting, it's best to use gel food coloring so that you don't water down the royal frosting and make it too runny. If you only have water-based food coloring you’ll want to reduce the amount of water/raw egg you add to the powdered sugar. If it’s still too runny you can always add more powdered sugar.
You’ll want to use it immediately and keep any extra frosting covered with plastic wrap, as it will begin to dry out and harden making it difficult to pipe.
Royal icing can be kept in an airtight container at room temperature up to 12 hours.
GINGERBREAD "GLUE" ALTERNATIVE - ISOMALT
If time is a constraining factor you'll need to use the "hot glue" of gingerbread architecture; Isomalt! Isomalt is more expensive but easy to use, you'll just need a microwavable container to heat it up (usually about 30-60 seconds depending on the strength of the microwave, remove as soon as it starts to bubble) and a knife to spread it quickly before it cools down. Be careful not to burn yourself!
Most people use Isomalt for windows or clear glass elements. Isomalt is really expensive, so I try to only use it for key pieces that would be incredibly difficult or impossible to achieve with royal frosting or sugar!


