DIY MANNEQUIN / BODY CAST
As I got into sewing I realized I wanted a mannequin to use for draping fabric and pinning designs, maybe even some haute couture!
I also wanted something that would look great in my room when I wasn’t using it and would also function as an accurate representation of my body, since most of my dream projects were clothes for yours truly.
My first thought was to buy a slightly smaller used mannequin online and then pad it to get it to be close to my body.
But, I also had always wanted to try doing a body cast, a technique I’ve heard of art models doing for sculptors.
For this you’ll need a few things:
Plaster Cast Wraps - same kind you would use for an old-fashioned cast
An Assistant - to help you dip the plaster into water and quickly drape the wet bandages over your body
A Bucket of Water - to dip the plaster strip into
Old Clothes - the wet plaster will tend to splash everywhere, so don’t wear anything nice!
Petroleum Jelly - to apply the edge between the front and back panels of the cast you are making - this will make it easier to get out of the cast once it hardens
Hardware - any kind of pipe or structure that you’ll use to support your cast
Spray Expanding Foam - you’ll need expanding foam - the same kind you might use to fill holes in walls/attics to keep drafts/critters out of your house. You’ll want the one that is for the “big gaps” that expands more than the standard foam.
Spackle and Sandpaper - for touching up and smoothing spots of your cast where the foam didn’t expand fully
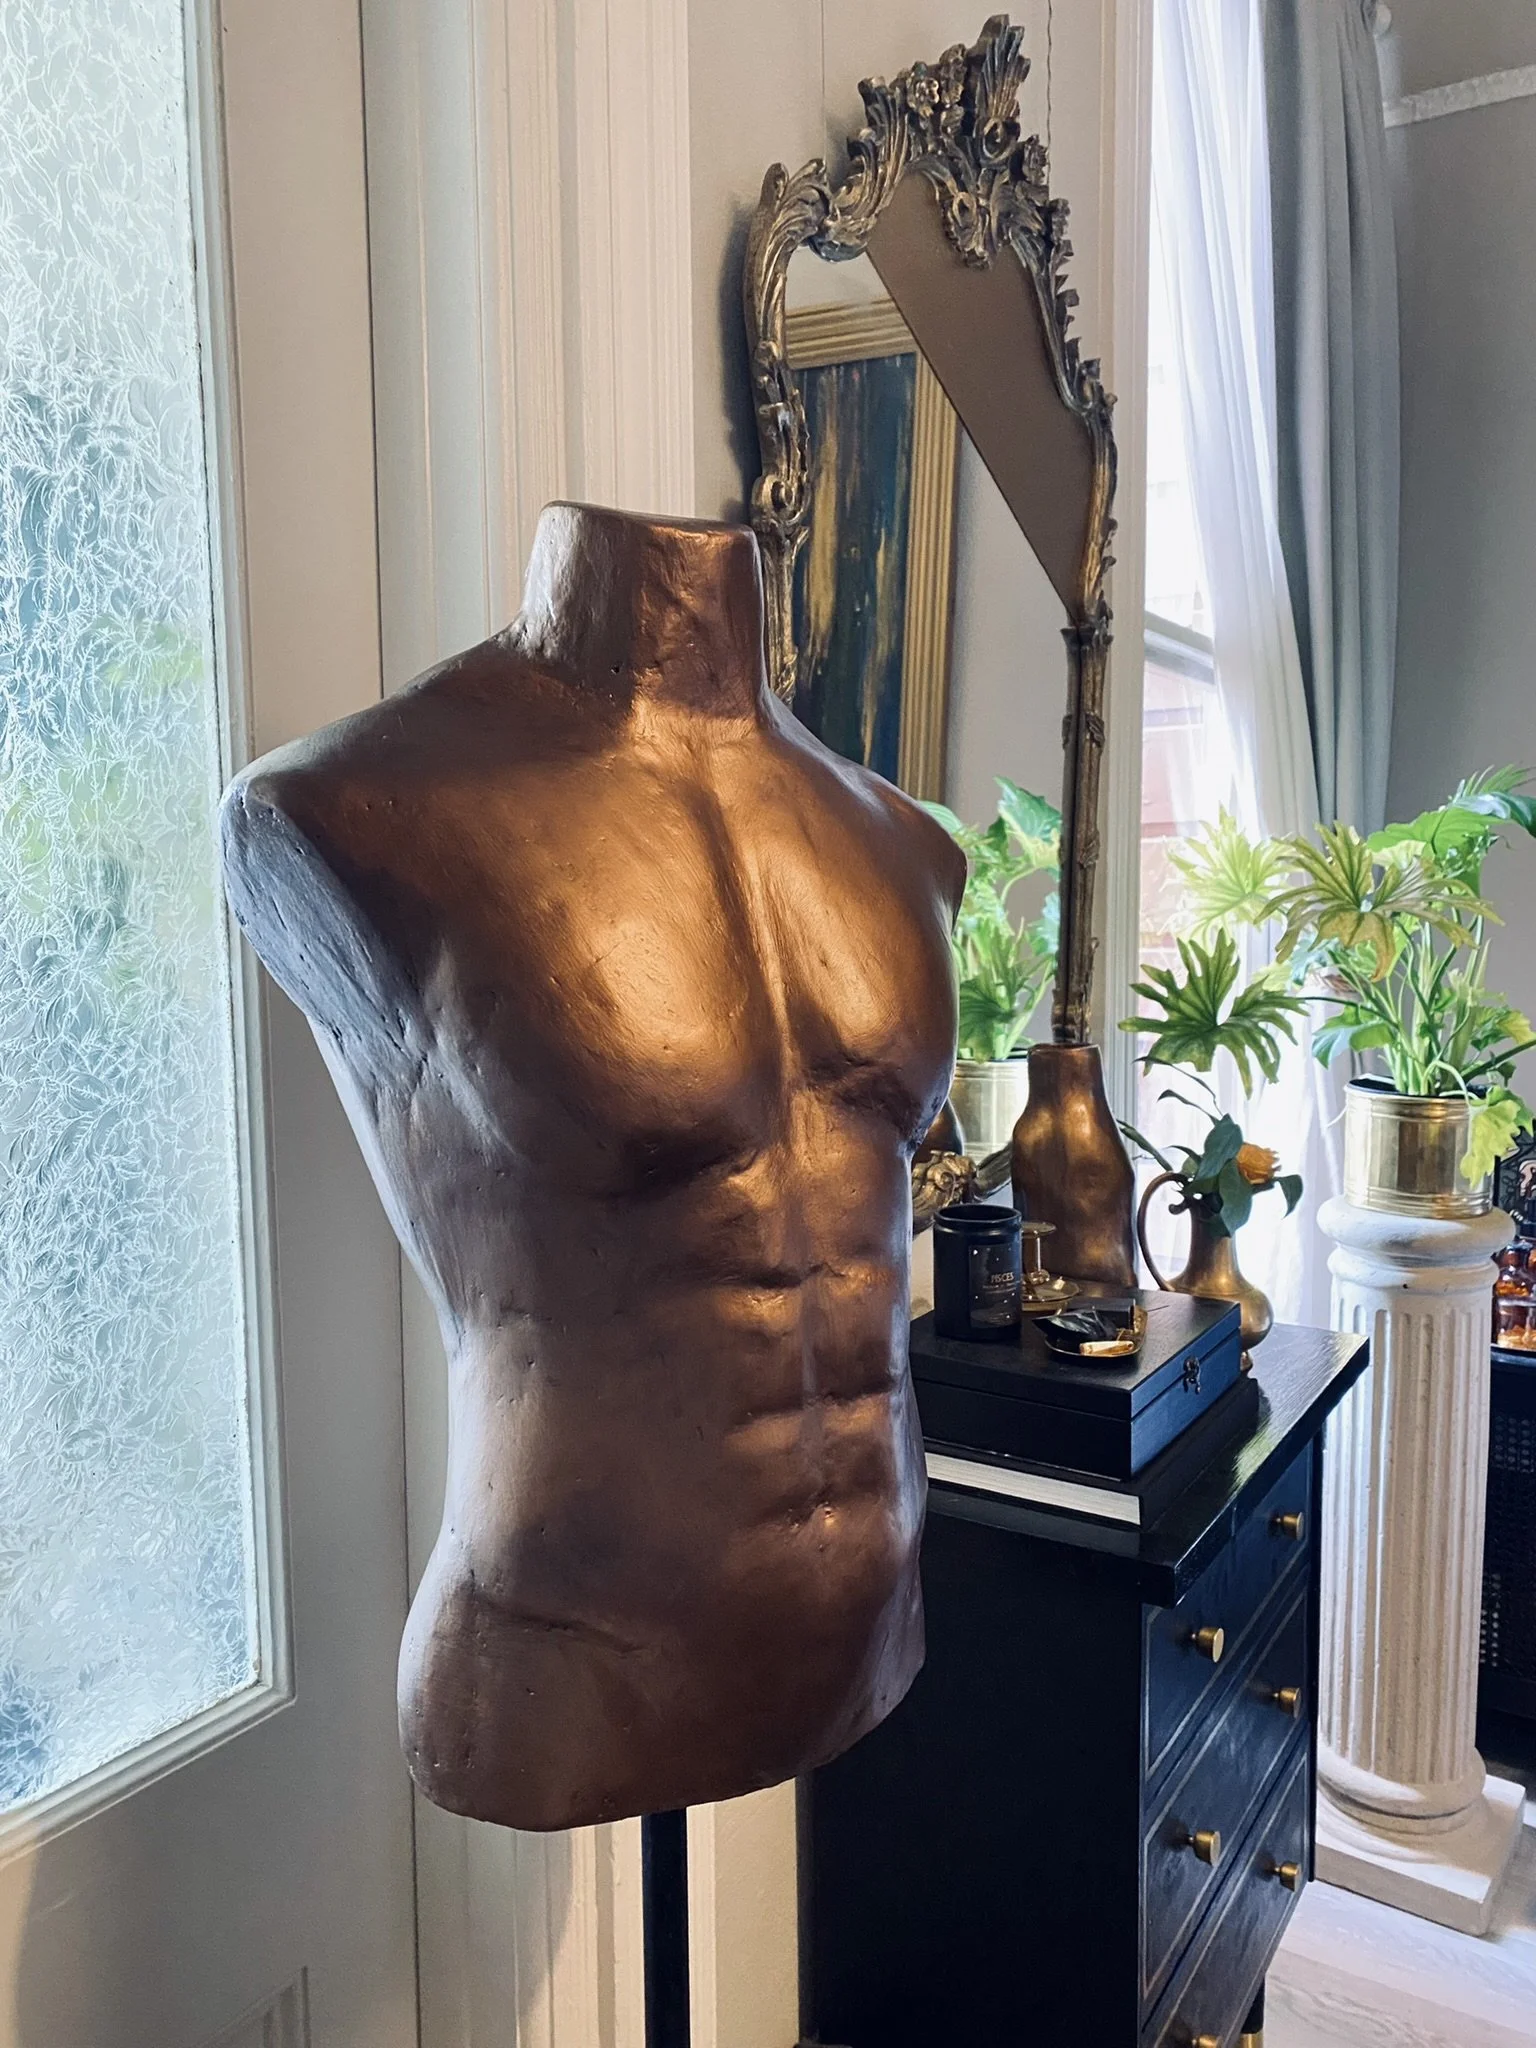
Paint - you could paint your cast any color, white would be ideal because the foam is white and if you pin or chip the paint you won’t notice the difference so much. But I wanted a metallic bronze look - so I chose to paint with black gesso - as the foam really sucks up the paint, before painting with an expensive bronze-infused paint from “Sculpt Nouveau”
Plaster cast strips that I bought online - you probably want to do this outside as they are extremely dusty
It helps to have two chairs to hold onto as the plaster is drying, as you don’t want your hanging arms moving too much and scraping the sides of your mold.
Step 1:
You’ll want to remove as much clothing as possible and wear old clothes you don’t mind ruining. It is best to have bare skin wherever the mold will be placed in order to get the most accurate impression.
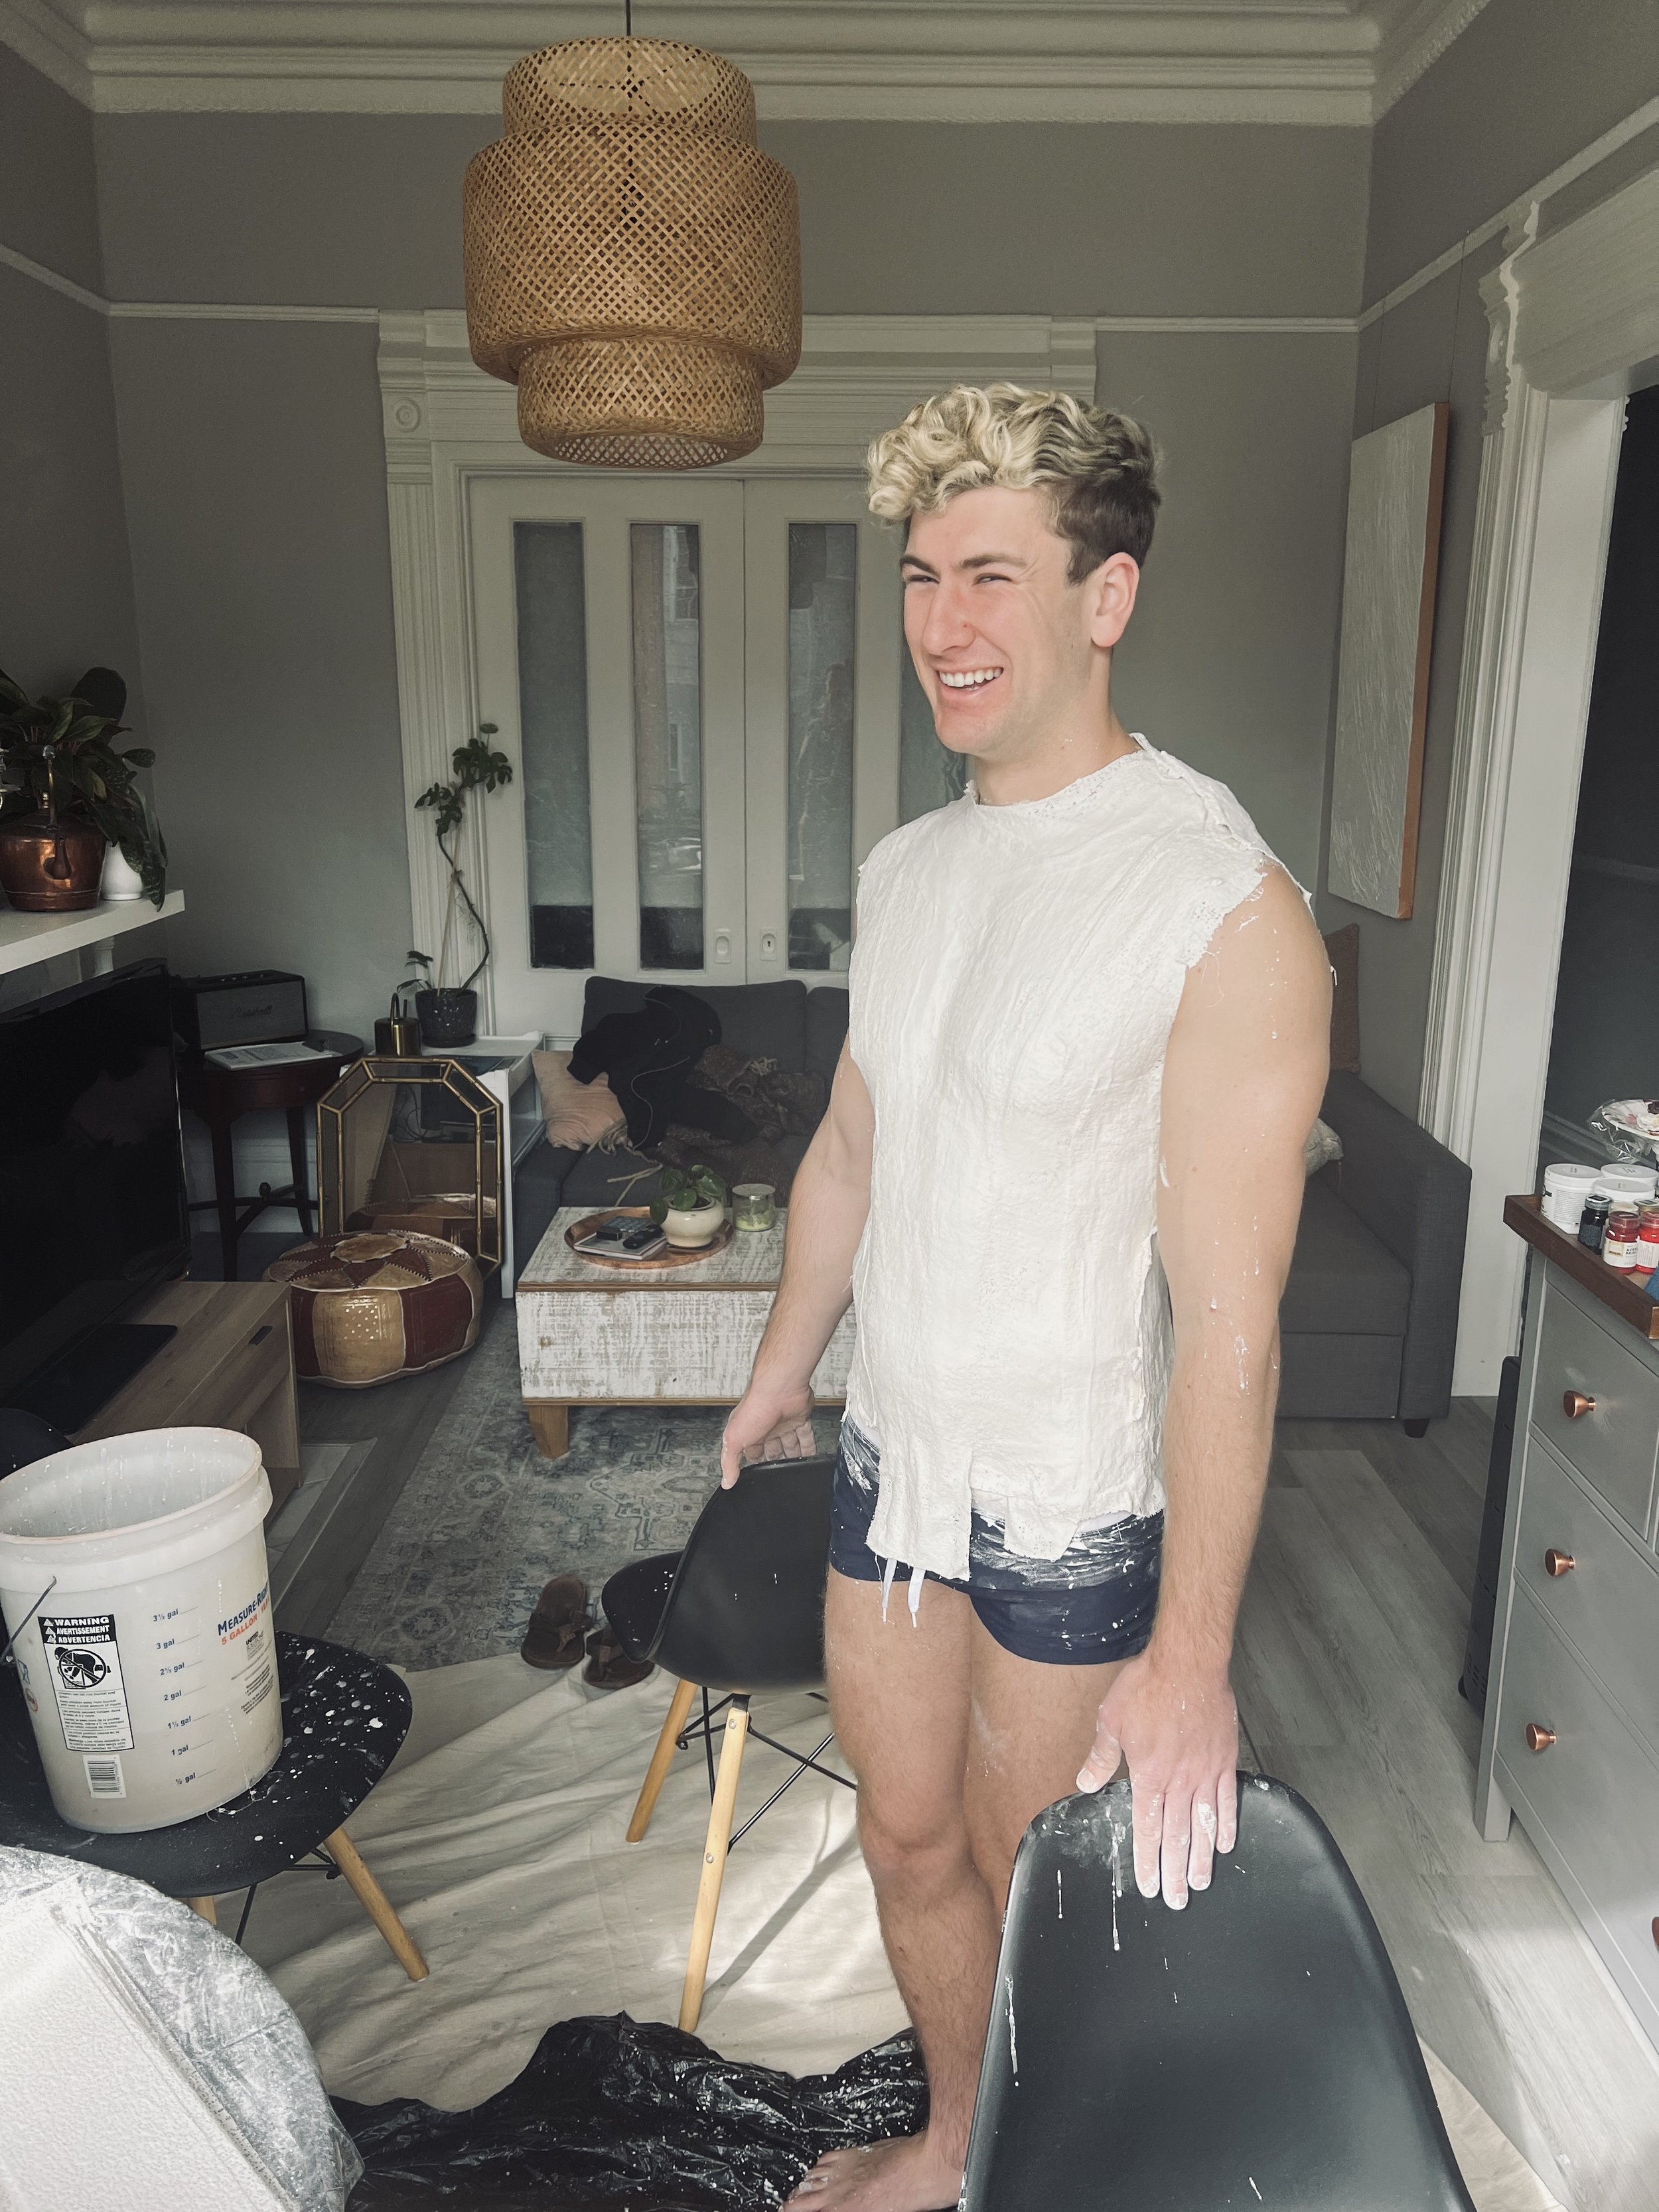
Start with the front panel, and have your assistant dip strips into a bucket of water before placing them onto your body.
You’ll want 3-4 layers, where you run the bandages in the opposite direction in each layer. Add more layers in spots that have more dramatic curves.
Step 2:
Once the front panel is on and fully layered, spread a liberal amount of petroleum jelly
along the edges where the back panel will soon meet the front panel. This will make it easier to remove the panels from each other once the panels are dry enough to remove.
Step 3:
Repeat the same process for the back panel of dipping strips in water and layering them in opposite directions.
Step 4:
You’ll want to wait at least 30-40 min before attempting to take the panels off. By the time you finish the back panel, the front panel may be pretty close to being ready to remove.
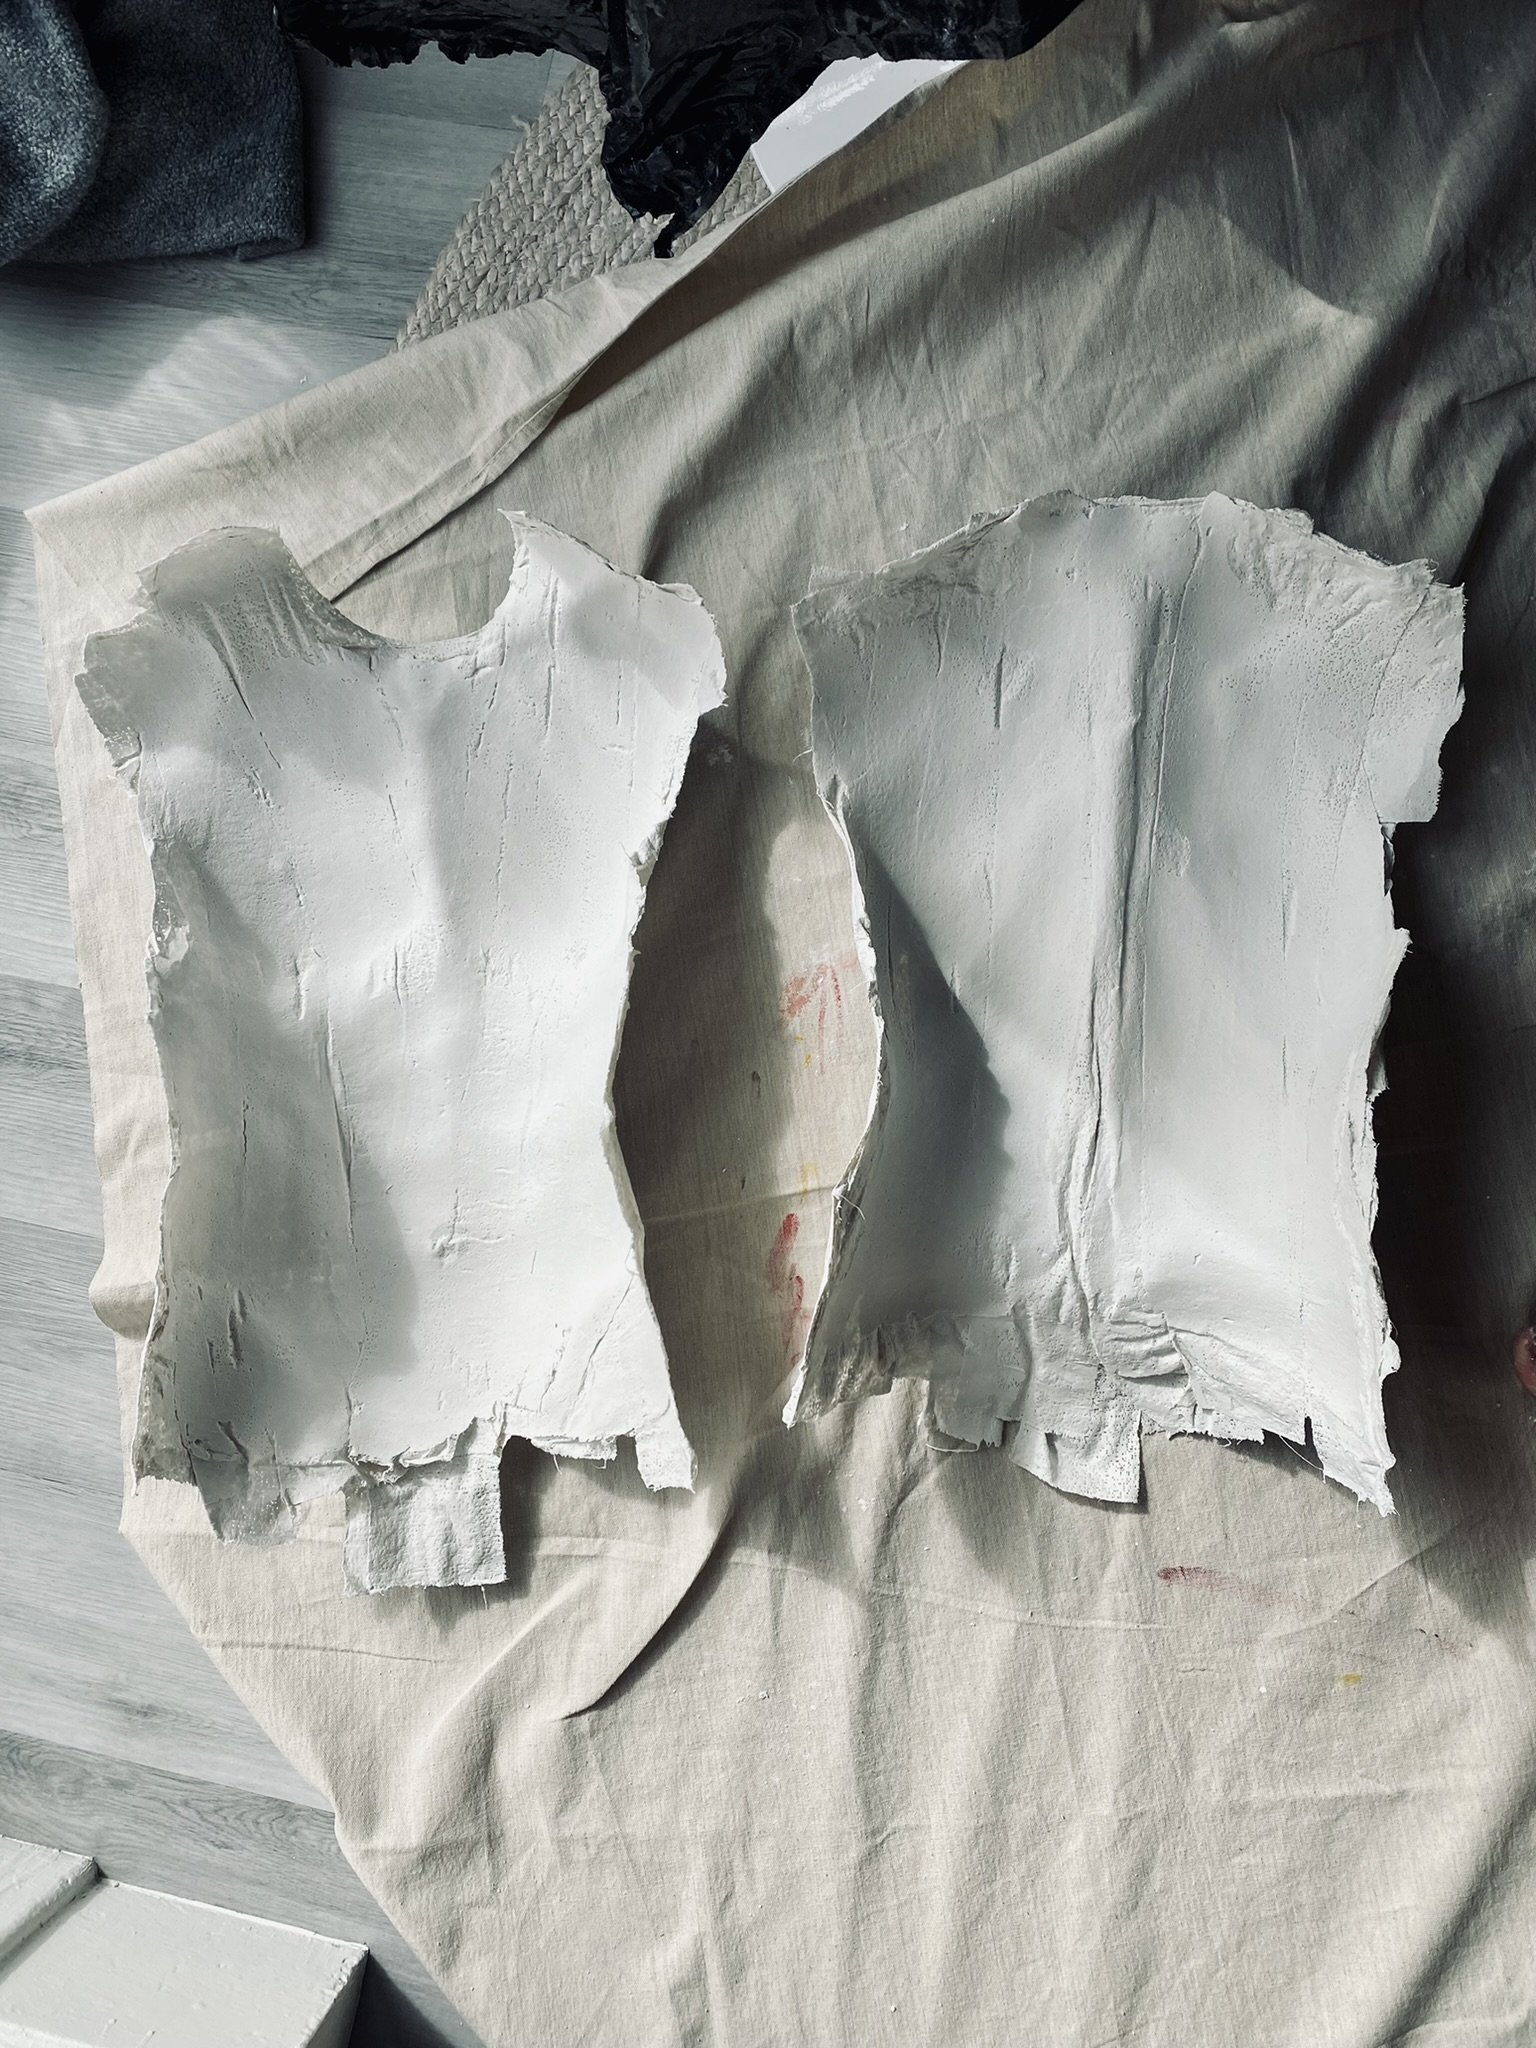
This is what you are making - two pieces that then will then get glued/taped back together.
Step 5:
After carefully removing the hardening panels, you’ll want to wait at least 24 hours before gluing/taping the panels back together.
Step 6:
Once you’ve reassembled your mold, you’ll probably need to add a cardboard base/plugs for any arm/leg holes. This is also when you would insert any wood or metal armature or hardware that you’d like to have to hold up your mannequin.
Step 7:
With the mold resembled, you're ready to start layering spray foam. This process can be time-consuming, as it took me about 12 cans to fill my form, but you want to wait a few hours between spraying each can inside the form. Be aware that the foam expands a lot, so if you spay a can in at the top and then go away for a few hours and it’s exploding out of your form, don’t be surprised!
Oops!
Step 8:
After the foam has expanded and hardened you are ready to remove the plaster cast layer and any cardboard, revealing a foam mannequin underneath. At this point you have a pretty good mannequin that you can stick pins into, and all steps after this are purely for aesthetics.
Step 9:
You can add a layer of spackle to the form in order to smooth out the surface. After the spackle dries you can sand the whole mannequin until it’s smooth. You may have to do this a couple times.
Step 10:
The foam and spackle/plaster tends to really soak up paint, so since I was using a fancy paint for my final coat, I applied a few layers of black gesso before adding the final coat of bronze infused paint.
Et voila! A beautiful and accurate mannequin that you can use for both projects and décor!


